1. Joining Our Zoom Meeting
Our workshop series is restricted to registered participants only. Once registered, each participant is given a unique log-in link. Thank you for understanding that this is done for the benefit of all involved.
Unlike regular Zoom meetings, merely typing in the meeting ID and password would not connect you to the meeting. Instead, Zoom will redirect you to a registration page.
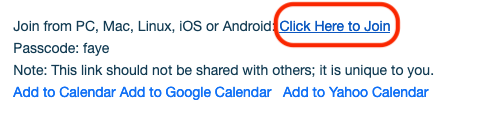
The Zoom email with the subject line “Ukulele Class for Absolute Beginners Confirmation” contains a direct and customized link. Please refer to that message OR make a bookmark of that link for easy access. See a sample below.
2. Scale to Fit Shared Content in Zoom
To adjust the size of the shared screen, please use the “View Options” pull-down menu (next to the green tab that says, “You are viewing Cutie Circle’s screen”).
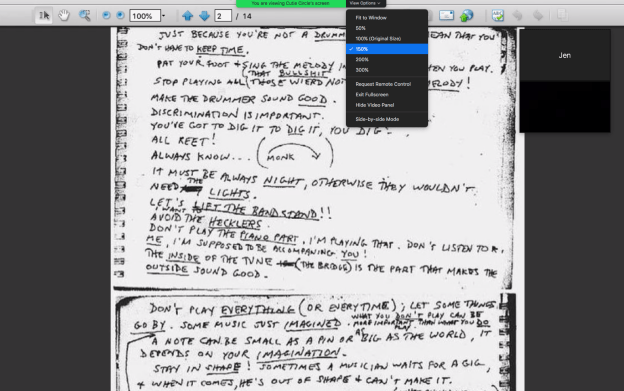
Alternatively, Zoom provides the option to set as default “Scale to Fit Shared Content” in the user settings, under “Share Screen”.
If you would like to learn how to enable or disable automatic full-screen mode, here’s a link:
https://gadgetstouse.com/blog/2020/12/12/stop-zoom-from-automatically-going-into-full-screen-mode/
Finally, to learn about other settings for controlling your views in Zoom, check out this helpful video:
https://www.youtube.com/watch?v=v3IPAbpVjd4
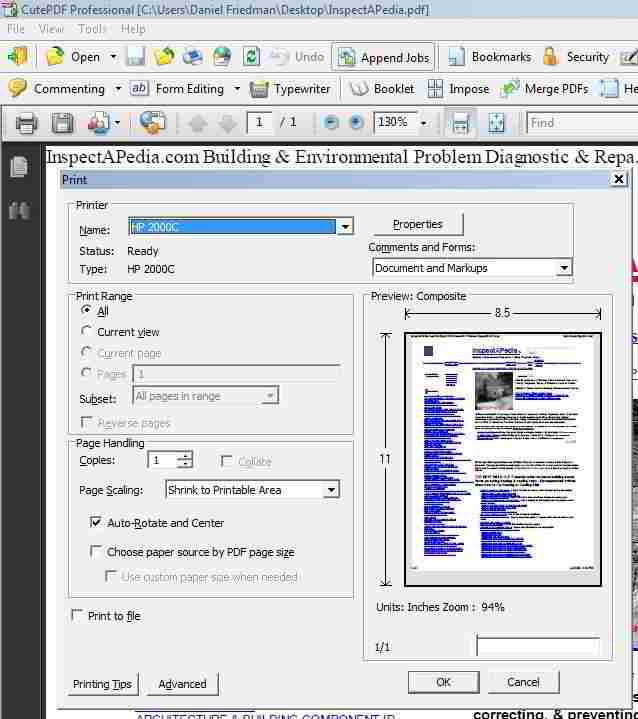
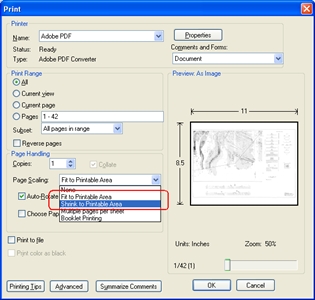
3. Printing Images
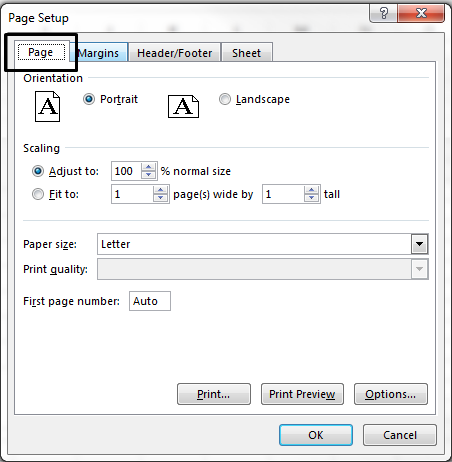
The printing issues one of you had described can usually be resolved by choosing “fit to page printing” or “shrink to printable area” in your computer’s print dialog:
https://support.microsoft.com/en-us/office/fit-to-one-page-f3015be3-e007-4762-90a7-19ebc8052511
Choose “fit to 1 page wide by 1 tall” is one option.
https://ij.manual.canon/ij/webmanual/PrinterDriver/W/MX450%20series/1.0/EN/PPG/Dg-c_fit.html


https://answers.acrobatusers.com/Printing-PDFs-default-fit-page-q20217.aspx
4. Spam Settings on Shaw
Adjusting spam settings
Through Webmail you are able to adjust your spam mail options. These options include discarding messages immediately so they will not appear in your trash folder, labeling messages as spam and leaving them in your inbox, or labeling spam messages and moving them to the junk folder. To adjust your spam mail options:
- Go to https://webmail.shaw.ca
- Log in using your email address and password.
- Click Preferences and select Spam.
- Select a spam mail option:
- Label message as spam and keep in Inbox
- Discard message immediately (will not appear in trash)
- Label message as spam and send to Junk)
- Click Save at the top left of the page.

Creating an email filter
Filters in Shaw Webmail allow you to automatically file your messages into folders, delete unwanted emails received from specific email addresses, forward emails that meet specific criteria, and flag, tag, or mark as read any emails from a specific email address. You can also create filters that affect your outgoing mail.
- Go to https://webmail.shaw.ca
- Log in using your email address and password.
- Click Preferences and select Filters
- Click either the Incoming Message Filters or Outgoing Message Filters tab.
- Select Create Filter. The Add Filter window will open.
- Enter a name for the filter.
- Select Any or All from the first dropdown list.
- In the second dropdown list, select a type of filter (eg. Subject, From, Contains).
- Configure the conditions that should trigger your filter (eg. Subject / contains / special offer)
- You can click the + button to add another condition to the same filter
- You can click the – button next to any conditions you want to remove
If you set multiple conditions for a filter, the Any or All settings in Step 7 will come into play. Any will cause the email to be filtered if any condition is met. All will cause the email to be filtered only if every condition is met.

To set what happens if filter conditions are met:
- Under Perform the following actions, click the dropbox list and select:
- Keep in Inbox to keep the email in your inbox.
- Delete to skip the Trash folder and delete the item permanently.
- Move into Folder to specify a folder where the email should be sorted.
- Tag with to categorize an email by creating and adding tags.
- Mark as to mark an email as Read or Flagged.
- Redirect to address to have the email forward to another email address.
- Click OK to create the filter.
Deleting messages from a specific sender
A common use of email filters is to delete unwanted emails from a specific email address. It’s important to follow these instructions carefully, so you don’t inadvertently filter all of your email to the Spam or Trash folders.
- Go to https://webmail.shaw.ca
- Log in using your email address and password.
- Click Preferences and select Filters.
- Stay on the Incoming Message Filters tab.
- Select Create Filter. The Add Filter window will open.
- Enter a name for the filter.
- Select Any from the first dropdown list.
- In the second dropdown list, select From.
- In the text box that appears, enter an email address.
- Under Perform the following actions, select Delete from the dropdown list.
In the final step, you could choose to filter emails to the Spam or Trash folders so you can review them before deleting the email.

